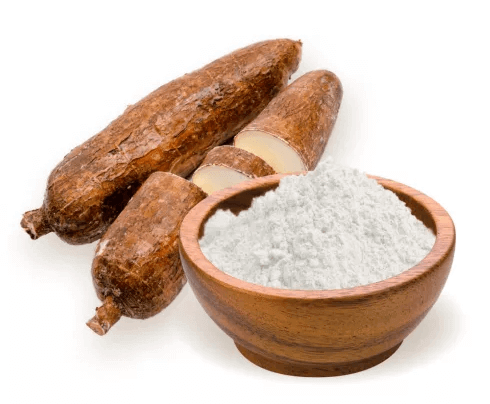
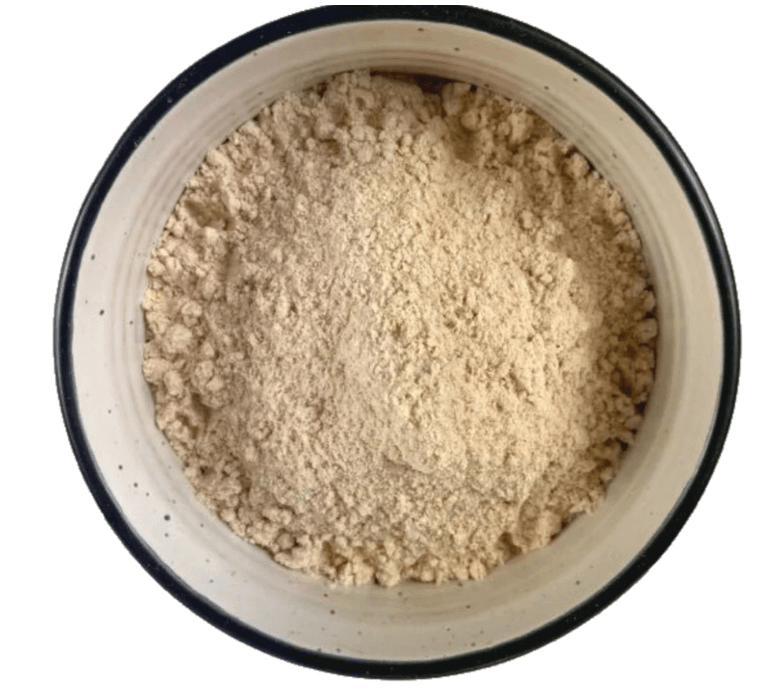
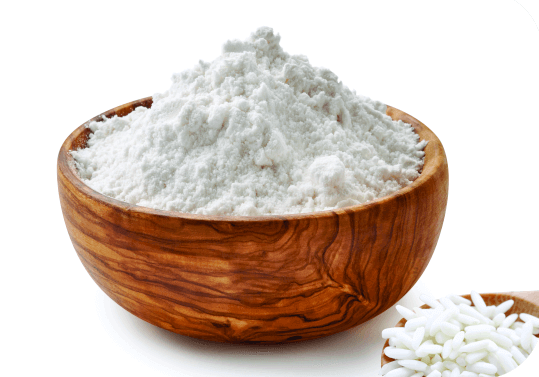
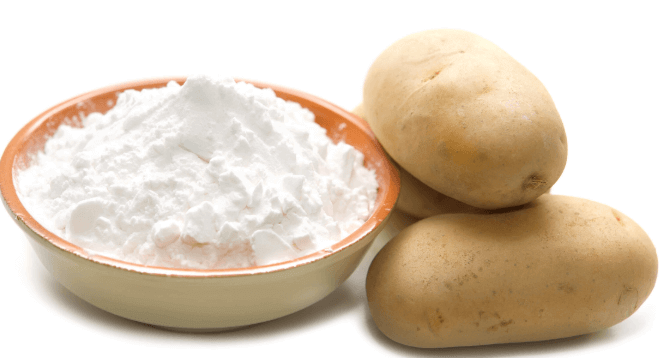
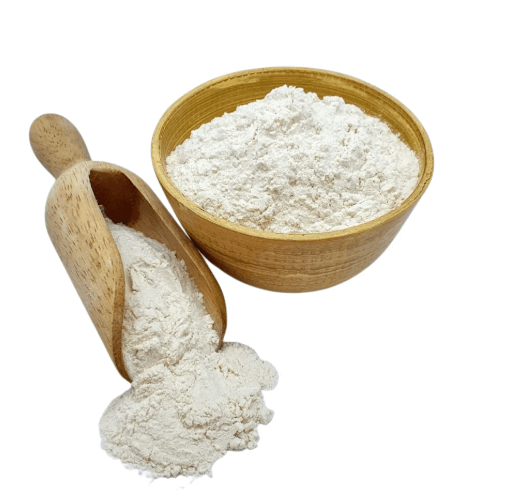
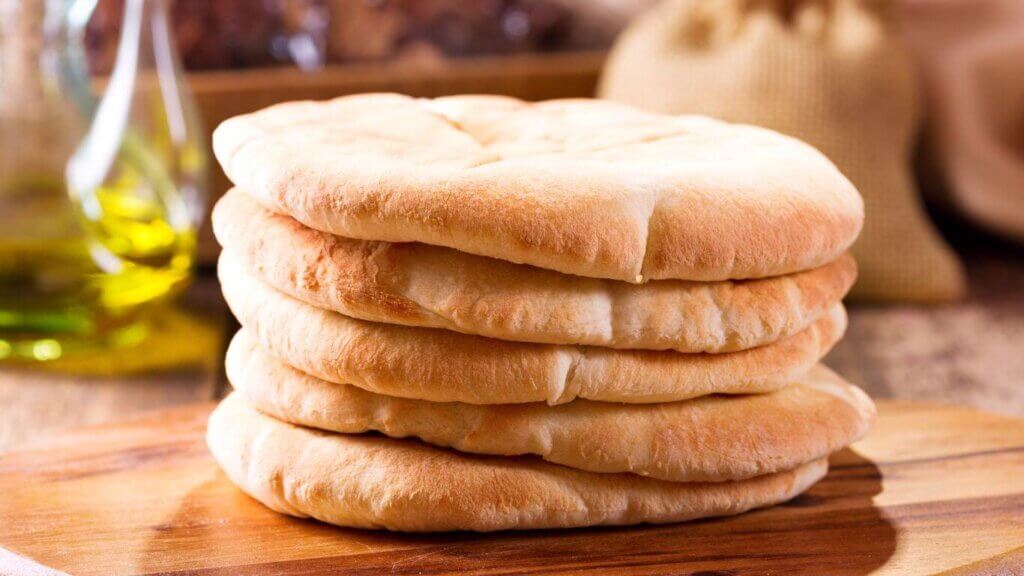
Pita Bread is a versatile, gluten-free flatbread that combines simplicity and nutrition in every bite. This homemade bread, made with arrowroot flour, brown rice flour, and potato starch, offers a soft texture and delightful flavor, making it perfect for sandwiches, dips, or as a side to soups and stews. Its wholesome ingredients ensure a light, airy consistency, ideal for those with gluten sensitivities.
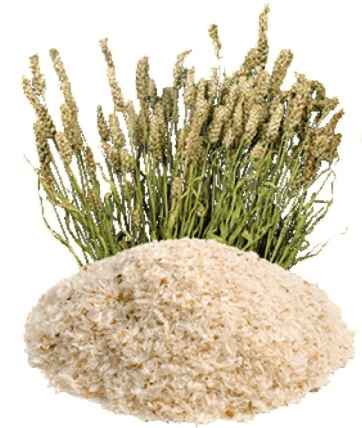
🌟 Nutritional Benefits: Pita Bread provides a balanced source of energy from its mix of flours, while psyllium husk adds fiber for improved digestion. Maple syrup adds a hint of natural sweetness, making this bread both delicious and health-conscious.
💡 Quick Tip: Sprinkle some sesame seeds on top before baking for an extra crunch or customize with your favorite herbs. For best results, enjoy freshly baked or lightly warmed.
📌 Serving Suggestion: Pair this bread with hummus, tzatziki, or your favorite spreads. Discover more gluten-free bread ideas in our Breakfast Collection.
🔗 Learn More: Read about the benefits of gluten-free diets in this Healthline article.
Pita bread
Ingredients
Preparation method
In a large mixing bowl, whisk together the flours, potato starch, xanthan gum, and salt until well combined. Set aside.
In a separate bowl, combine warm water, yeast, and syrup. Stir gently and let sit for about 5 minutes until bubbles form, indicating the yeast is activated.
Add oil and psyllium husk to the yeast mixture. Stir well and let sit for another 1-2 minutes to allow the psyllium to absorb the liquid.
Gradually add the dry flour mixture to the wet ingredients, stirring continuously with a wooden spoon or a hand mixer on low speed. Mix until the dough comes together and is slightly sticky.
Transfer the dough to a lightly floured surface (using arrowroot flour) and knead gently for 1-2 minutes to ensure it is smooth and elastic.
Place the dough in a ceramic bowl and cover it with plastic wrap or a damp kitchen towel. Set aside in a warm place to rise for about 40 minutes, or until it doubles in size.
Preheat the oven to 200°C (390°F). Line two baking trays (30 x 40 cm) with baking paper.
Lightly dust a work surface or silicone mat with arrowroot flour. Divide the dough into 8 equal portions (approx. 120 g each). For each portion, gently flatten and stretch the dough from the center to form a circle, about 15-17 cm in diameter and 3 mm thick.
Place the shaped pitas onto the prepared baking trays. Drizzle lightly with oil and bake in the preheated oven for 5-7 minutes, or until just starting to brown.
Remove the trays from the oven, carefully flip the pitas, and bake for another 5-7 minutes, or until lightly browned on the other side.
Allow the pitas to cool slightly. Cut each pita in half and carefully slice open lengthwise to form a pocket. Fill the pitas with your choice of fillings and serve warm.
Nutrition Facts
Servings 8
- Amount Per Serving
- Calories 292kcal
- % Daily Value *
- Total Fat 7g11%
- Total Carbohydrate 64g22%
- Dietary Fiber 5.6g23%
- Protein 3.7g8%
* Percent Daily Values are based on a 2,000 calorie diet. Your daily value may be higher or lower depending on your calorie needs.
Hints&Tips
To make your own rice flour, place 250 g rice into mixing bowl and mill 2 min/speed 10. Use as needed.
Serve pita pockets with Lamb kleftiko, tzatziki dip and Greek salad.

