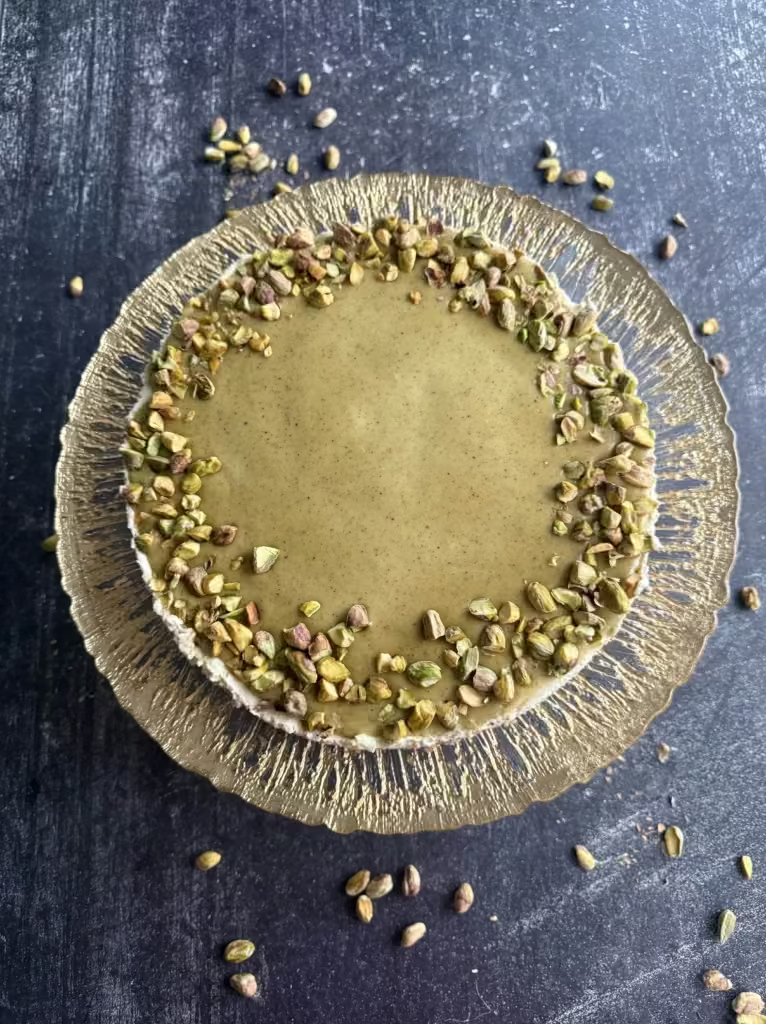
🍰 Pistachio Cheesecake – a creamy and indulgent dessert for pistachio lovers! Made with a buttery biscuit base, fluffy mascarpone cream, and rich pistachio paste, this no-bake treat is perfect for holidays, family gatherings, or simply satisfying your sweet tooth.
🌟 Nutritional Benefits: Pistachios are a great source of antioxidants, healthy fats, and protein. This cheesecake offers a balance of flavor and nutrients, making it a sweet treat you can enjoy without guilt!
💡 Quick Tip: Decorate with whole pistachios or crushed biscuits for an extra visual appeal. You can also replace pistachio cream with hazelnut spread for a different flavor twist!
📌 Serving Suggestion: Serve chilled with a drizzle of honey or a scoop of vanilla ice cream for an elevated dessert experience. Check out more sweet ideas in our Desserts Collection.
🔗 Explore More: Learn about the health benefits of pistachios in this Healthline article.
Description
Ingredients
Preparation method
Place the biscuits in the bowl and blend for 6 seconds at speed 5. Add the softened butter to the biscuits and blend for 8 seconds at speed 4. In a round tin with a diameter of 24 cm, or using a 24 cm cake ring placed directly on a serving platter, pour the biscuit mixture and press firmly using a glass until you achieve a uniform and compact layer. Place the tin or cake ring in the refrigerator for about 30 minutes to allow the base to set before adding the cream.
Wash and dry the bowl thoroughly, ensuring there is no water left in it. Place the mixing bowl in the refrigerator for 10-15 minutes. Make sure the whipping cream is chilled to a temperature of 5-6°C. Attach the whisk attachment. Pour the whipping cream into the bowl, add 60 g of sugar, and beat at speed 3 without setting a time, until the desired consistency is reached. Be careful not to overbeat to avoid turning the cream into butter.
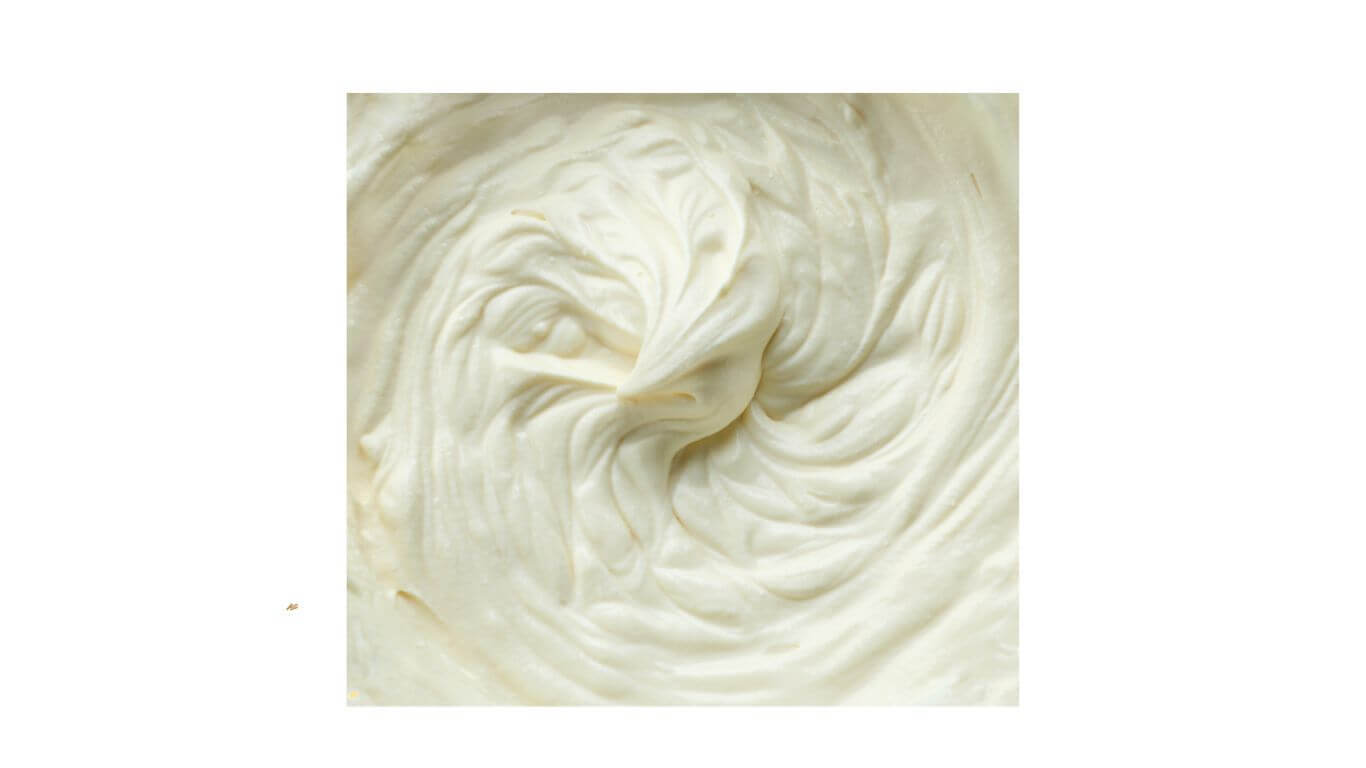
After the whipped cream is ready, set 2 minutes at speed 3 and gradually add the mascarpone through the lid until it is fully incorporated.
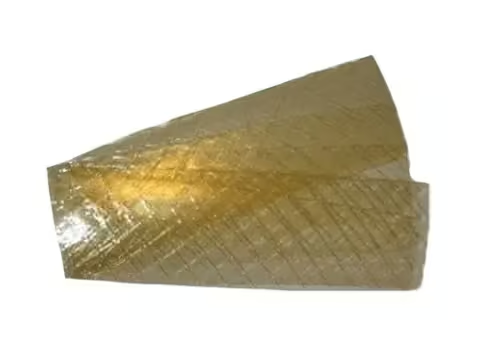
In a bowl, soak the gelatin sheets in cold water. After they have softened (about 5-7 minutes), squeeze them well to remove excess water. Place the squeezed gelatin sheets in a small saucepan and heat on very low heat, stirring continuously, until completely dissolved. Be careful not to let it boil. Once the gelatin is fully dissolved, add it to the Thermomix bowl over the mascarpone cream, and set for 30 seconds at speed 3 to evenly incorporate the gelatin into the cream.
Add 200 g of pistachio cream (recipe made in the Thermomix can be found here) to the mascarpone and mix for 20 seconds at speed 3. If necessary, check the texture and mix for a few more seconds at the same speed until you achieve a smooth and fully incorporated cream.
Remove the biscuit base from the refrigerator and spread the mascarpone and pistachio cream evenly over it. Level the cream across the surface, then place the cheesecake back in the refrigerator for approximately 40 minutes.
After the cream has set slightly, add a thin layer of approximately 70 g of pistachio cream on top, spreading it evenly across the surface of the cheesecake. Decorate with chopped or whole pistachios, according to your preference. Let the cheesecake chill for 8 hours or overnight to allow the flavors to meld and the texture to stabilize before serving.
Nutrition Facts
Servings 12
- Amount Per Serving
- Calories 577kcal
- % Daily Value *
- Total Fat 46g71%
- Total Carbohydrate 32g11%
- Protein 9.7g20%
* Percent Daily Values are based on a 2,000 calorie diet. Your daily value may be higher or lower depending on your calorie needs.

